CPR for Infants and Children: Special Techniques Every Parent Should Know

Essential Life-Saving Skills for Parents
Recognizing When CPR is Needed
Before diving into the techniques, it’s important to recognize when CPR is necessary. Perform CPR if the child or infant:
- Is unresponsive and not breathing, or only gasping.
- Has no pulse (in cases where you can check).
Step-by-Step CPR for Infants (Under 1 Year Old)
Step 1: Assess the Situation
Ensure the area is safe. Check for responsiveness by tapping the infant and shouting, “Are you okay?” If there’s no response, shout for help and call 911 immediately.
Step 2: Open the Airway
Place the infant on their back on a firm, flat surface. Gently tilt the head back and lift the chin to open the airway.
Step 3: Check for Breathing
Look, listen, and feel for breathing for no more than 10 seconds. If the infant is not breathing or only gasping, begin CPR.
Step 4: Give Chest Compressions
Use two fingers to perform chest compressions just below the nipple line. Compress the chest about 1.5 inches deep at a rate of 100-120 compressions per minute. Allow the chest to fully recoil between compressions.
Step 5: Provide Rescue Breaths
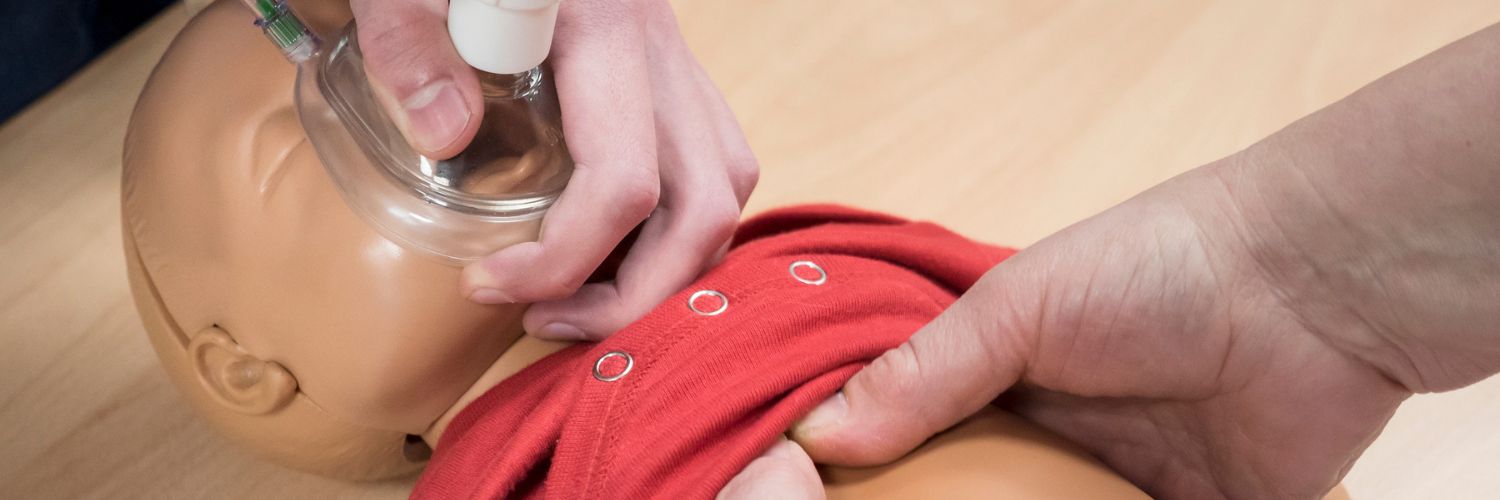
Cover the infant’s nose and mouth with your mouth, creating an airtight seal. Give two gentle breaths, each lasting about 1 second, watching for chest rise. If the chest doesn’t rise, re-tilt the head and try again.
Step 6: Continue CPR
Continue the cycle of 30 compressions and 2 rescue breaths until emergency help arrives, the infant shows signs of life, or an AED is available.
Step-by-Step CPR for Children (1 Year to Puberty)
Step 1: Assess the Situation
Ensure the area is safe. Check for responsiveness by tapping the child and shouting, “Are you okay?” If there’s no response, shout for help and call 911 immediately.
Step 2: Open the Airway
Place the child on their back on a firm, flat surface. Tilt the head back and lift the chin to open the airway.
Step 3: Check for Breathing
Look, listen, and feel for breathing for no more than 10 seconds. If the child is not breathing or only gasping, begin CPR.
Step 4: Give Chest Compressions
Use one or both hands (depending on the size of the child) to perform chest compressions in the center of the chest. Compress the chest about 2 inches deep at a rate of 100-120 compressions per minute. Allow the chest to fully recoil between compressions.
Step 5: Provide Rescue Breaths
Pinch the child’s nose shut and cover their mouth with yours, creating an airtight seal. Give two breaths, each lasting about 1 second, watching for chest rise. If the chest doesn’t rise, re-tilt the head and try again.
Step 6: Continue CPR
Continue the cycle of 30 compressions and 2 rescue breaths until emergency help arrives, the child shows signs of life, or an AED is available.
Using an AED on Children and Infants
If an Automated External Defibrillator (AED) is available:
- For infants, use pediatric pads if available. If not, use adult pads, ensuring they do not overlap.
- For children, use pediatric pads if available. If not, use adult pads.
Follow the AED instructions, ensuring everyone is clear of the child or infant while the AED analyzes the heart rhythm and delivers a shock if advised.
Conclusion
Knowing how to perform CPR on infants and children is a vital skill for every parent. These special techniques are designed to address the unique needs of young children and infants, ensuring you can provide the most effective assistance in an emergency. By learning and practicing these skills, you can be prepared to act swiftly and confidently, potentially saving the life of your child or another child in need.
Visit our blog for the latest articles, reviews, expert tips, and essential life saving skills.


Leave a Reply